macOS Accessibility Keyboard
For a while now, the distinction between “desktop” and “mobile” has become increasingly tenuous. As the computers in our pockets grow ever more capable, they more closely resemble the computers typically situated on our desks and laps. This trend was especially pronounced in this year’s WWDC, with the announcement of Catalyst and iPadOS.
Today, what’s the difference between a MacBook and an iPad? Practically speaking, you might point to the presence or absence of a physical keyboard, a SIM card, or an ARM processor (and if the rumors about next year’s MacBook models are to believed, those latter two may soon cease to be a distinction).
For many of us, a physical keyboard is the defining trait that makes a computer a “desktop” computer in the traditional sense; when you purchase an external keyboard for your iPad, you do so to make it “desktop”-like. But for many others — including those of us with a physical disability — a typewriter-like keyboard is but one of many input methods available to desktop users.
This week on NSHipster, we’re taking a look at the macOS Accessibility Keyboard. Beyond its immediate usefulness as an assistive technology, the Accessibility Keyboard challenges us to think differently about the nature of input methods and any remaining distinction between mobile and desktop computers.
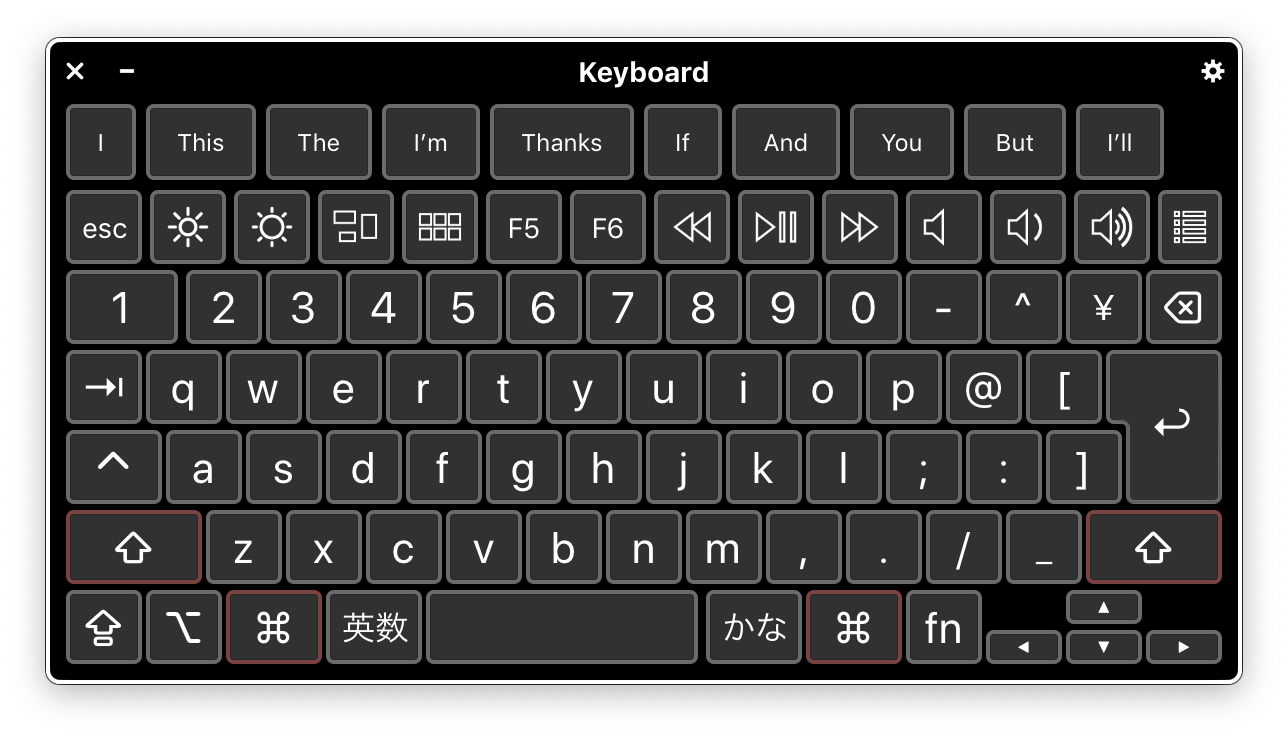
Introduced in macOS High Sierra, the Accessibility Keyboard lets you type and interact with your Mac without the use of a physical keyboard.
To turn it on, open System Preferences, click the Accessibility preference pane, select “Keyboard” under the “Interactions” section in the sidebar. (Alternatively, you can search for “Accessibility Keyboard” and navigate to the first result).

Click the checkbox labeled “Enable Accessibility Keyboard” to present the accessibility keyboard over the windows of the frontmost app.

The software keyboard reproduces the layout of your hardware keyboard. The modifier keys outlined in red (⌘, ⇧, ⌥) are “sticky keys” and remain active until a non-“sticky” key is activated, allowing for capital letters and keyboard shortcuts. Along the top row are iOS-style suggestions that update automatically as you type.
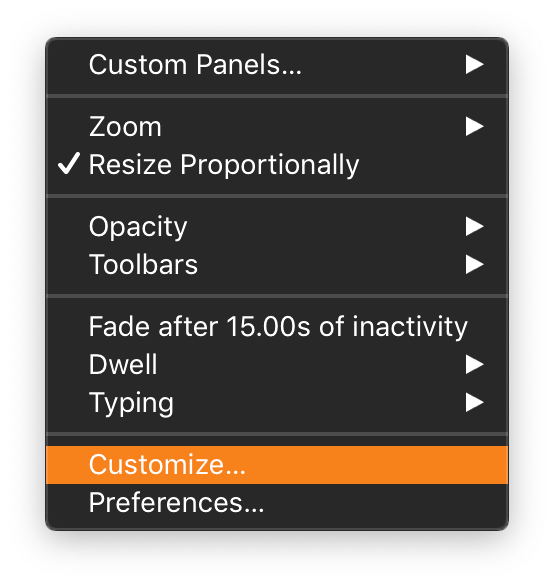
However, the most interesting feature of the Accessibility Keyboard is tucked behind the ⚙︎ button on the top right corner — the ability to customize and create your own keyboards!

Customizing and Creating Your Own Accessibility Keyboards
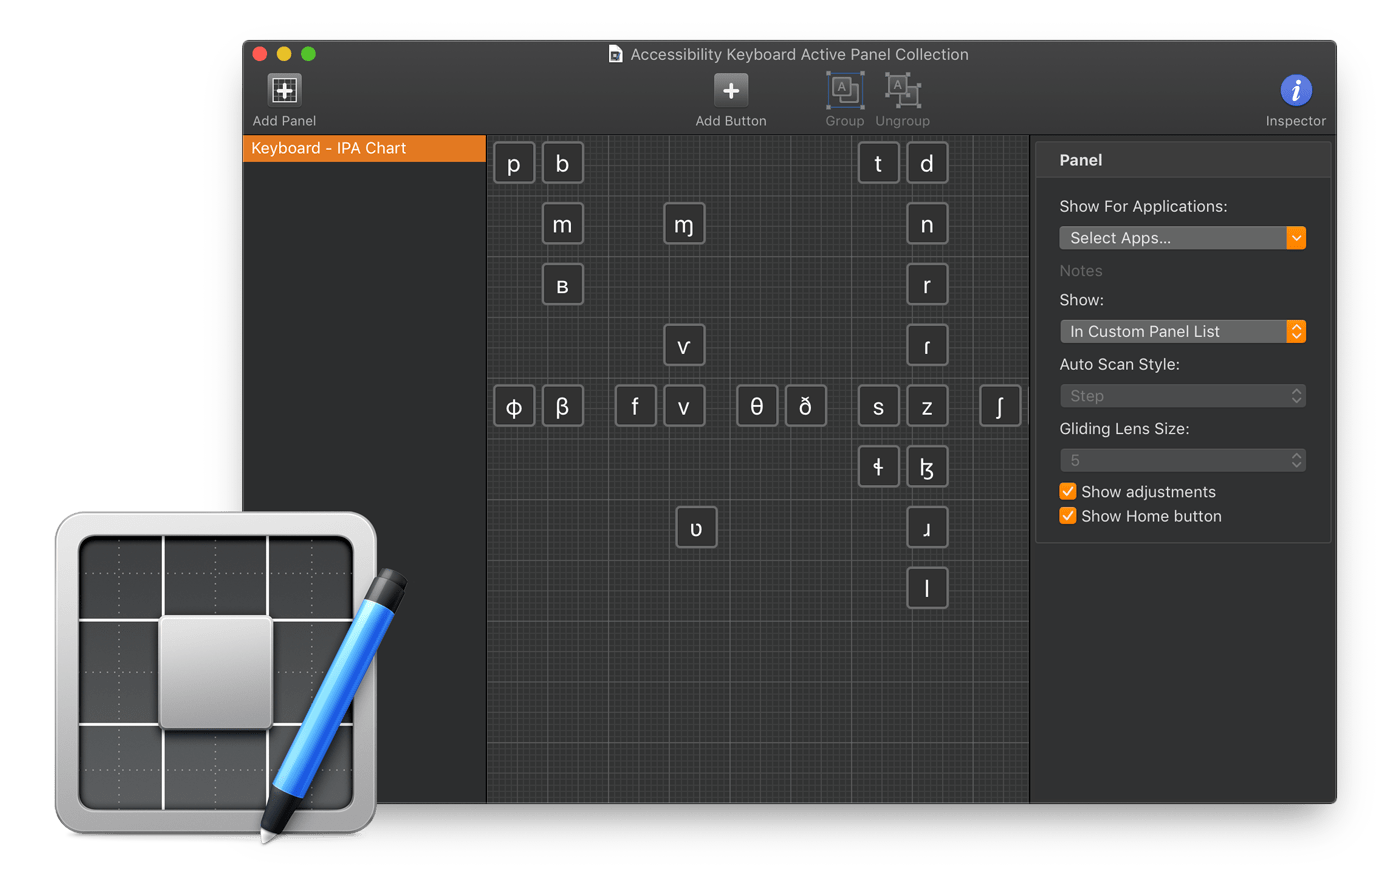
Panel Editor is a built-in app that lets you edit Accessibility Keyboard panels.

For something so obscure, the Panel Editor app is remarkably well made. Adding, moving, and editing buttons on a panel is a cinch. You can even click and drag to select and move multiple buttons at once, and group buttons together at your convenience.
Each button has a name as well as options for font size, color, and position. By default, the name appears in the button itself, but you can specify an image to display instead.
You can configure a button to perform any one of the following actions when clicked:
- None
- Go Back (navigate between panels in Accessibility Keyboard)
- Open Panel
- Show / Hide Toolbar
- Dwell (relevant to head- or eye-tracking technology, and other hardware switches)
- AppleScript
- Enter Text
- Press Keys
- Open App
- System Event
- Typing Suggestions
Of these, “Enter Text” is the most common. We’ll use that in our next example as a way to solve the problem of creating input methods for scripts without a keyboard.
Creating an IPA Keyboard
Standard Latin script is insufficient for expressing phonetics, how a word sounds when spoken. As English speakers, we know this all too well. That’s why linguists invented their own script, the International Phonetic Alphabet (IPA). Whereas typical letters may have different pronunciations across dialects (/tə.ˈme͡ɪ.do͡ʊ/, /tə.ˈmɑ.to͡ʊ/) — or even within the same word (like the letter “a” in “application”) — IPA symbols represent a single sound, or phoneme; the mid-central vowel, “ə” (a.k.a “schwa”) sounds the same whether its part of an English word or a Japanese word or nonsensical babbling.
Working with IPA on computers has pretty much always been a PITA, for three reasons:
- Incomplete Text Encoding
- Until Unicode version 6.1, some IPA symbols didn’t have a specified code point, forcing linguists to either use a similar-looking character or define ad hoc encodings within a Private Use Area.
- Limited Font Support
- It’s one thing to have a specified code point. Having a font that can shape, or render that code point correctly is another matter entirely.
- Lack of Input Methods
- Just because the computer can represent and render a character
doesn’t mean that you, as a user,
can produce that character in the first place.
Typing on a QWERTY keyboard,
we take for granted being able to type the j key
to produce the letter “j”.
But what if you wanted to type “ʝ”?
For all too many people, the answer is “Google and copy-paste”.
Fortunately, the first and second of these three challenges are no longer an issue on modern operating systems: Unicode provides code points for all of the IPA characters, and most platforms natively render them all without having to install a custom font. However, the problem of input methods remains an open question.
SIL International hosts an IPA keyboard layout by Joan Wardell. There’s also the SuperIPA keyboard — based on CXS, a variant of X-SAMPA — by Kreative Korporation. You could also use IPA Palette by Brian “Moses” Hall.
But if none of these tick all of your boxes in terms of usability of ergonomics, the Accessibility Keyboard Panel Editor provides an easy way for anyone to hand-roll a bespoke solution:

This keyboard layout was created with Panel Editor and is modeled after the official IPA Chart, with symbols arranged by place and manner of articulation. It’s not nearly as efficient as any of the aforementioned keyboard layouts (nor is it as complete), but anyone familiar with IPA can use it for transcription immediately without additional training.
If you’re a developer, there’s a good chance that your next questions are “What does this file format look like?” and “Can I generate these with code rather than a GUI?”.
The short answers are “A Bundle of Property Lists”, and “Yes!”. Read on for the full breakdown:
Inspecting the Accessibility Keyboard File Format
The keyboard panel bundles themselves can be tricky to find
if you don’t know what you’re looking for.
On macOS Mojave,
any custom panels you make can be found within the
~/Library/Application Support/com.apple.Assistive directory
in bundles with a .ascconfig file extension.
The bundle comprises a top-level Info.plist file
and a Resources directory containing an index of assets
(along with any asset files, like button images)
as well as a file named Panel.
$ tree ~/Library/Application Support/com.apple.AssistiveOpening up Panel reveals the inner structure
of our custom virtual keyboard layout:
<?xml version="1.0" encoding="UTF-8"?>
<!DOCTYPE plist PUBLIC "-//Apple//DTD PLIST 1.0//EN" "http://www.apple.com/DTDs/PropertyThe Panel key is associated with an array of dictionaries,
each representing a single button.
Fortunately, he majority of the key names are self-explanatory:
<dict>
<key>ButtonThe takeaway from looking at the file format is that it’d be very easy to generate Accessibility Keyboard panels in code, rather than using the Panel Editor app. (In fact, we used find-and-replace to bulk resize the buttons in the IPA keyboard, a task that would have otherwise taken 100⨉ longer).
Additional Use Cases
There are dozens of scripts comprising hundreds of characters that lack a dedicated keyboard layout. And the macOS Accessibility Keyboard offers a wonderful, built-in solution for producing these characters.
But what else could you do with this technology, now that you know it exists?
Here are a few ideas for you to consider:
Templating Frequent Communications
Do you find yourself writing the same things over and over again in emails or GitHub Issues? Create a custom, virtual keyboard to summon boilerplate with the click of your mouse or the tap of your trackpad.
Generative Text
The Accessibility Keyboard isn’t limited to canned responses. Thanks to its AppleScript integration, you can populate text dynamically from virtually any source.
For example,
you could create a Fortune button
that inserts a (pseudo)random entry from the
fortune program,
with the following AppleScript:
set fortune to do shell script "/usr/local/bin/fortune"
set the clipboard to fortune as text
delay 0.01
tell application "System Events" to tell (name of application processes whose frontmost is true) to keystroke "v" using command down
Obligatory fortune output:
If your bread is stale, make toast.
Sound Board
Do you aspire to be a
drive-time radio DJ
live streamer?
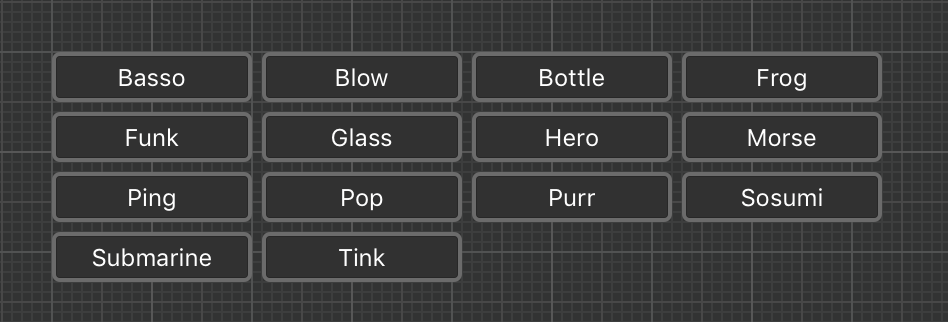
Use the Accessibility Keyboard to trigger funny sound effects at will
to delight your throng of fans.

do shell script "afplay /System/Sounds/Sosumi.aiff"
World Domination
AppleScript gives you the closest thing to complete, programmatic access to the entire system.
Set a button to kick off a build of your app, or send a message on Slack, or turn on the lights in your house, or play your theme song!
The Accessibility Keyboard serves as a powerful, built-in, and omnipresent interface to whatever functionality you desire — without going through all the trouble of building an app.
Because, if you think about it, is there any real difference between the j key on your keyboard and a hypothetical Party button on a virtual keyboard?
The strong connection between the word “computer” and typewriter keyboards is merely a historical one. The rise of smartphones and smartwatches help illustrate this. Any distinction between the computers in your hand, on your wrist, or on your desk is ultimately insignificant. All computers are the same; they’re all force multipliers.
Once you separate “desktop” computers from the shape of their primary interface, you can start to fully appreciate the full capabilities of what’s at our fingertips.