SwiftSyntax
SwiftSyntax is a Swift library that lets you parse, analyze, generate, and transform Swift source code. It’s based on the libSyntax library, and was spun out from the main Swift language repository in August 2017.
Together, the goal of these projects is to provide safe, correct, and intuitive facilities for structured editing, which is described thusly:
What is structured editing? It’s an editing strategy that is keenly aware of the structure of source code, not necessarily its representation (i.e. characters or bytes). This can be achieved at different granularities: replacing an identifier, changing a call to global function to a method call, or indenting and formatting an entire source file based on declarative rules.
At the time of writing, SwiftSyntax is still in development and subject to API changes. But you can start using it today to work with Swift source code in a programmatic way.
It’s currently used by the Swift Migrator, and there are ongoing efforts to adopt the tool, both internally and externally.
How Does It Work?
To understand how SwiftSyntax works, let’s take a step back and look at the Swift compiler architecture:

The Swift compiler is primarily responsible for turning Swift code into executable machine code. The process is divided up into several discrete steps, starting with the parser, which generates an abstract syntax tree, (AST). From there, semantic analysis is performed on the syntax to produce a type-checked AST, which lowered into Swift Intermediate Language; the SIL is transformed and optimized and itself lowered into LLVM IR, which is ultimately compiled into machine code.
The most important takeaway for our discussion is that SwiftSyntax operates on the AST generated at the first step of the compilation process. As such, it can’t tell you any semantic or type information about code.
Contrast this with something like SourceKit, which operates with a much more complete understanding of Swift code. This additional information can be helpful for implementing editor features like code-completion or navigating across files. But there are plenty of important use cases that can be satisfied on a purely syntactic level, such as code formatting and syntax highlighting.
Demystifying the AST
Abstract syntax trees can be difficult to understand in the abstract. So let’s generate one and see what it looks like.
Consider the following single-line Swift file,
which declares a function named one() that returns the value 1:
func one() -> Int { return 1 }
Run the swiftc command on this file
passing the -frontend -emit-syntax arguments:
$ xcrun swiftc -frontend -emit-syntax ./One.swift
The result is a chunk of JSON representing the AST. Its structure becomes much clearer once you reformat the JSON:
{
"kind": "SourceAt the top-level, we have a Source
consisting of Code elements
and their constituent Code parts.
This example has a single Code
for the function declaration (Function),
which itself comprises subcomponents including
a function signature,
parameter clause,
and return clause.
The term trivia
is used to describe anything that isn’t syntactically meaningful,
like whitespace.
Each token can have one or more pieces of leading and trailing trivia.
For example, the space after the Int in the return clause (-> Int)
is represented by the following piece of trailing trivia.
{
  "kind": "Space",
  "value": 1
}
Working Around File System Constraints
SwiftSyntax generates abstract syntax trees
by delegating system calls to swiftc.
However, this requires code to be associated with a file
in order to be processed,
and it’s often useful to work with code as a string.
One way to work around this constraint is to write code to a temporary file and pass that to the compiler.
We’ve written about temporary files in the past,
but nowadays, there’s a much nicer API for working with them
that’s provided by the
Swift Package Manager itself.
In your Package.swift file, add the following package dependency,
and add the "Utility" dependency to the appropriate target:
.package(url: "https://github.com/apple/swift-package-manager.git", from: "0.3.0"),
Now, you can import the Basic module
and use its Temporary API like so:
import Basic
import Foundation
let code: String
let tempfile = try TemporaryWhat Can You Do With It?
Now that we have a reasonable idea of how SwiftSyntax works, let’s talk about some of the ways that you can use it!
Writing Swift Code: The Hard Way
The first and least compelling use case for SwiftSyntax is to make writing Swift code an order of magnitude more difficult.
SwiftSyntax, by way of its Syntax APIs,
allows you to generate entirely new Swift code from scratch.
Unfortunately, doing this programmatically
isn’t exactly a walk in the park.
For example, consider the following code:
import SwiftWhew. So what did all of that effort get us?
struct Example {
}
Oofa doofa.
This certainly isn’t going to replace
GYB for everyday code generation purposes.
(In fact,
libSyntax
and
SwiftSyntax
both make extensive use of gyb to generate its interfaces.)
But this interface can be quite useful when precision matters. For instance, you might use SwiftSyntax to implement a fuzzer for the Swift compiler, using it to randomly generate arbitrarily-complex-but-ostensibly-valid programs to stress test its internals.
Rewriting Swift Code
The example provided in the SwiftSyntax README shows how to write a program to take each integer literal in a source file and increment its value by one.
Looking at that,
you can already extrapolate out to how this might be used
to create a canonical swift-format tool.
But for the moment,
let’s consider a considerably less productive —
and more seasonally appropriate (🎃) —
use of source rewriting:
import SwiftWhat’s that
zalgo
function all about?
You’re probably better off not knowing…
Anyway, running this rewriter on your source code transforms all string literals in the following manner:
// Before 👋😄
print("Hello, world!")

// After 🦑😵
print("H͞͏̟̂ͩel̵ͬ͆͜ĺ͎̪̣͠ơ̡̼͓̋͝, w͎̽̇ͪ͢ǒ̩͔̲̕͝r̷̡̠͓̉͂l̘̳̆ͯ̊d!")
Spooky, right?
Highlighting Swift Code
Let’s conclude our look at SwiftSyntax with something that’s actually useful: a Swift syntax highlighter.
A syntax highlighter, in this sense, describes any tool that takes source code and formats it in a way that’s more suitable for display in HTML.
NSHipster is built on top of Jekyll, and uses the Ruby library Rouge to colorize the example code you see in every article. However, due to Swift’s relatively complex syntax and rapid evolution, the generated HTML isn’t always 100% correct.
Instead of messing with a pile of regular expressions, we could instead build a syntax highlighter that leverages SwiftSyntax’s superior understanding of the language.
At its core,
the implementation is rather straightforward:
implement a subclass of Syntax
and override the visit(_:) method
that’s called for each token as a source file is traversed.
By switching over each of the different kinds of tokens,
you can map them to the HTML markup for their
corresponding highlighter tokens.
For example,
numeric literals are represented with <span> elements
whose class name begins with the letter m
(mf for floating-point, mi for integer, etc.).
Here’s the corresponding code in our Syntax subclass:
import SwiftAlthough Syntax has specialized visit(_:) methods
for each of the different kinds of syntax elements,
I found it easier to handle everything in a single switch statement.
(Printing unhandled tokens in the default branch
was a really helpful way to find any cases that I wasn’t already handling).
It’s not the most elegant of implementations,
but it was a convenient place to start
given my limited understanding of the library.
Anyway, after a few hours of development, I was able to generate reasonable colorized output for a wide range of Swift syntactic features:
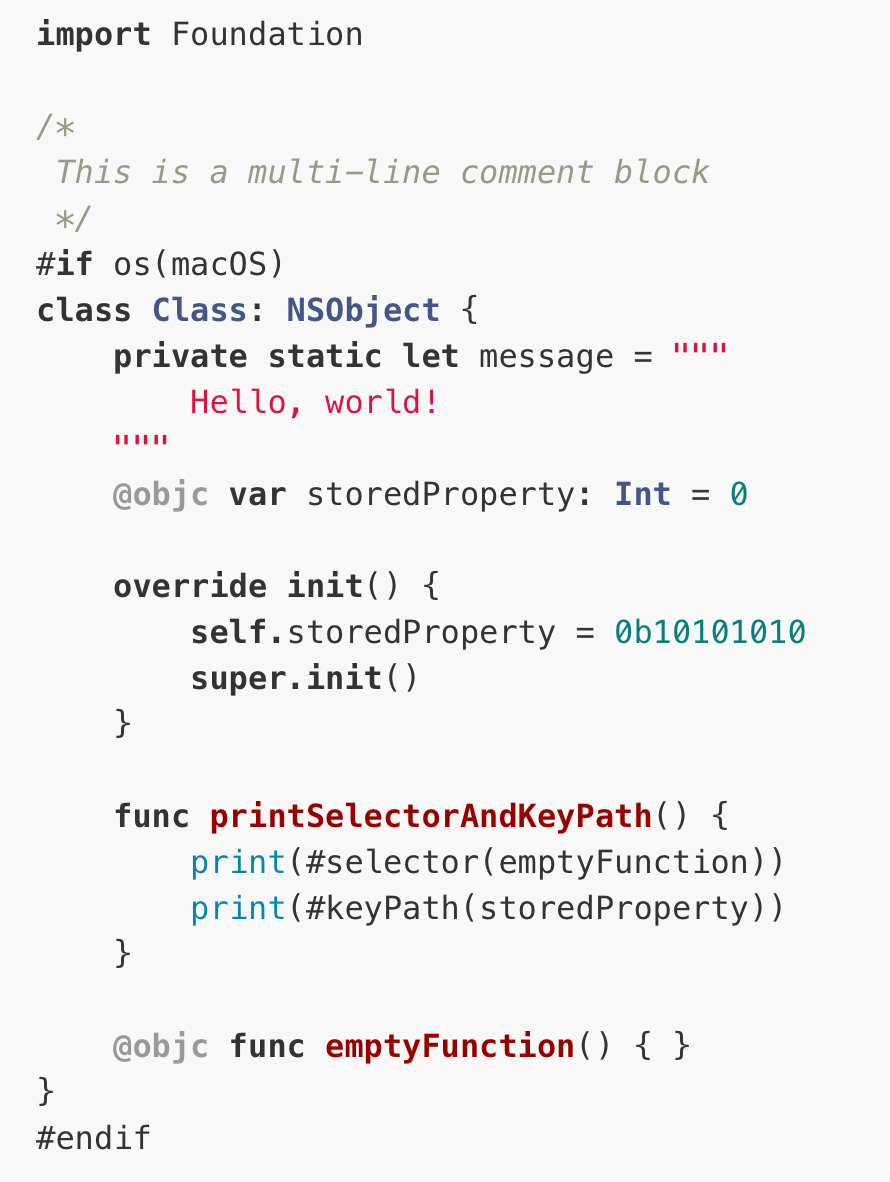
The project comes with a library and a command line tool. Go ahead and try it out and let me know what you think!