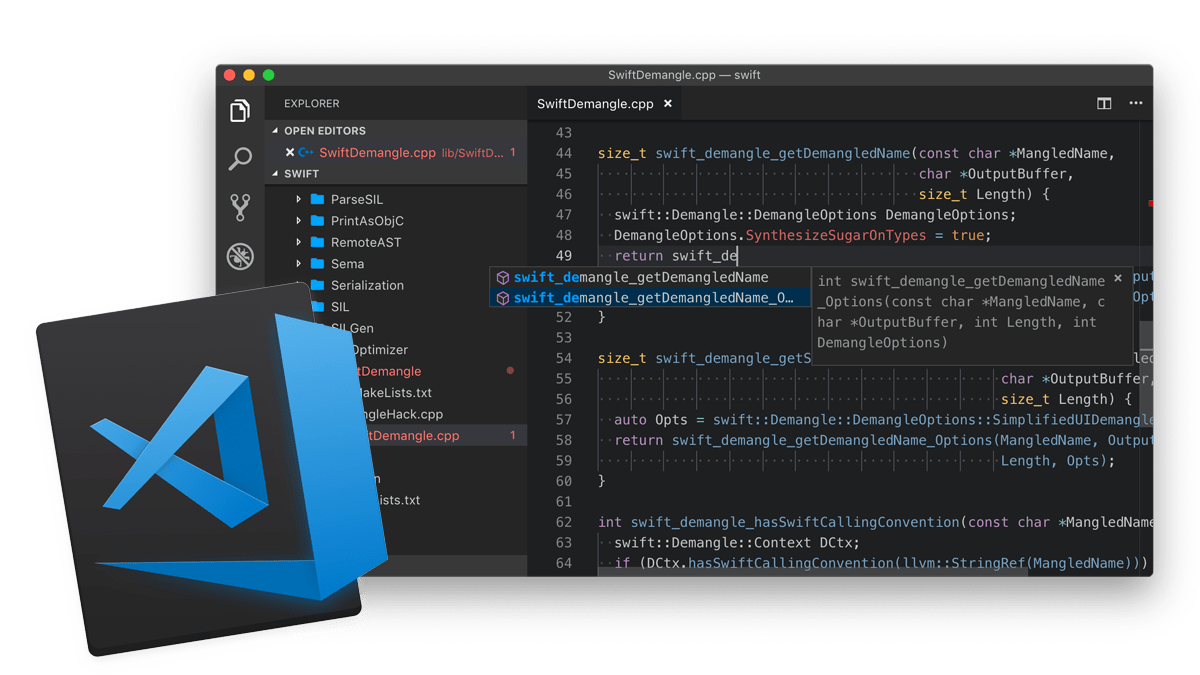
Swift Development with Visual Studio Code
Visual Studio Code (VSCode) is a cross-platform text and source code editor from Microsoft. It’s one of the most exciting open source projects today, with regular updates from hundreds of contributors. VSCode was among the first tools to support Language Server Protocol (LSP), which has played a large part in providing a great developer experience, in a variety of languages and technologies.
With the previously announced now shipping in Xcode, it’s a great time to see how this integration works for yourself.
This week, we’ll walk through the process of how to get started with Swift’s new Language Server Protocol support in Visual Studio Code on macOS. If you haven’t tried writing Swift outside Xcode, or are already a VSCode user and new to the language entirely, this article will tell you everything you need to know.
Step 0: Install Xcode
If you don’t already have Xcode installed on your machine, open the Terminal app and run the following command:
$ xcode-select --install
Running this command presents a system prompt.
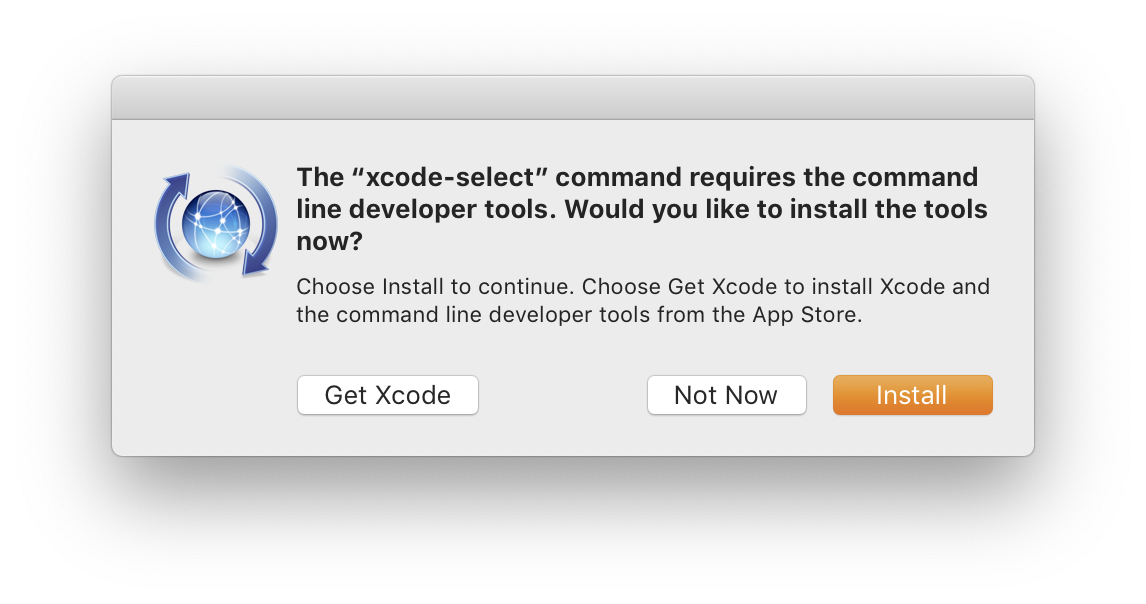
Click the “Get Xcode” button and continue installation on the App Store.
You can verify that everything is working as expected
by running the sourcekit-lsp command:
$ xcrun sourcekit-lsp
This command launches a new language server process,
but don’t worry if it doesn’t provide any feedback to STDOUT —
that means it’s working as intended.
Exit the process with an ETX signal (^C).
Step 1: Install Visual Studio Code
Download Visual Studio Code
and install it to your system Applications folder.
Open the app and
follow the instructions for launching from the command line.
You’ll need to have the code command accessible from $PATH
in order to install the SourceKit-LSP extension later on.
Step 2: Install Node and NPM
VSCode extensions are written in JavaScript / TypeScript.
If you’re not already set up for JS development,
you can download Node (a JavaScript run-time for outside the browser)
and npm (a package manager for Node)
with Homebrew using the following commands
or manually by following these instructions:
$ brew install node
To verify that you have a working installation, run the following command:
$ npm --version
6.13.4
Step 3: Build and Install SourceKit-LSP Extension for Visual Studio Code
From the command line,
clone the sourcekit-lsp repository
and navigate to Editors/vscode in the resulting directory.
Use npm to build the extension
and then use the code command to install it:
$ git clone https://github.com/apple/sourcekit-lsp.git
$ cd sourcekit-lsp/Editors/vscode/
$ npm run createNow launch (or relaunch) VSCode and open a Swift project, such as this one, and test out Language Server Protocol support for Swift.
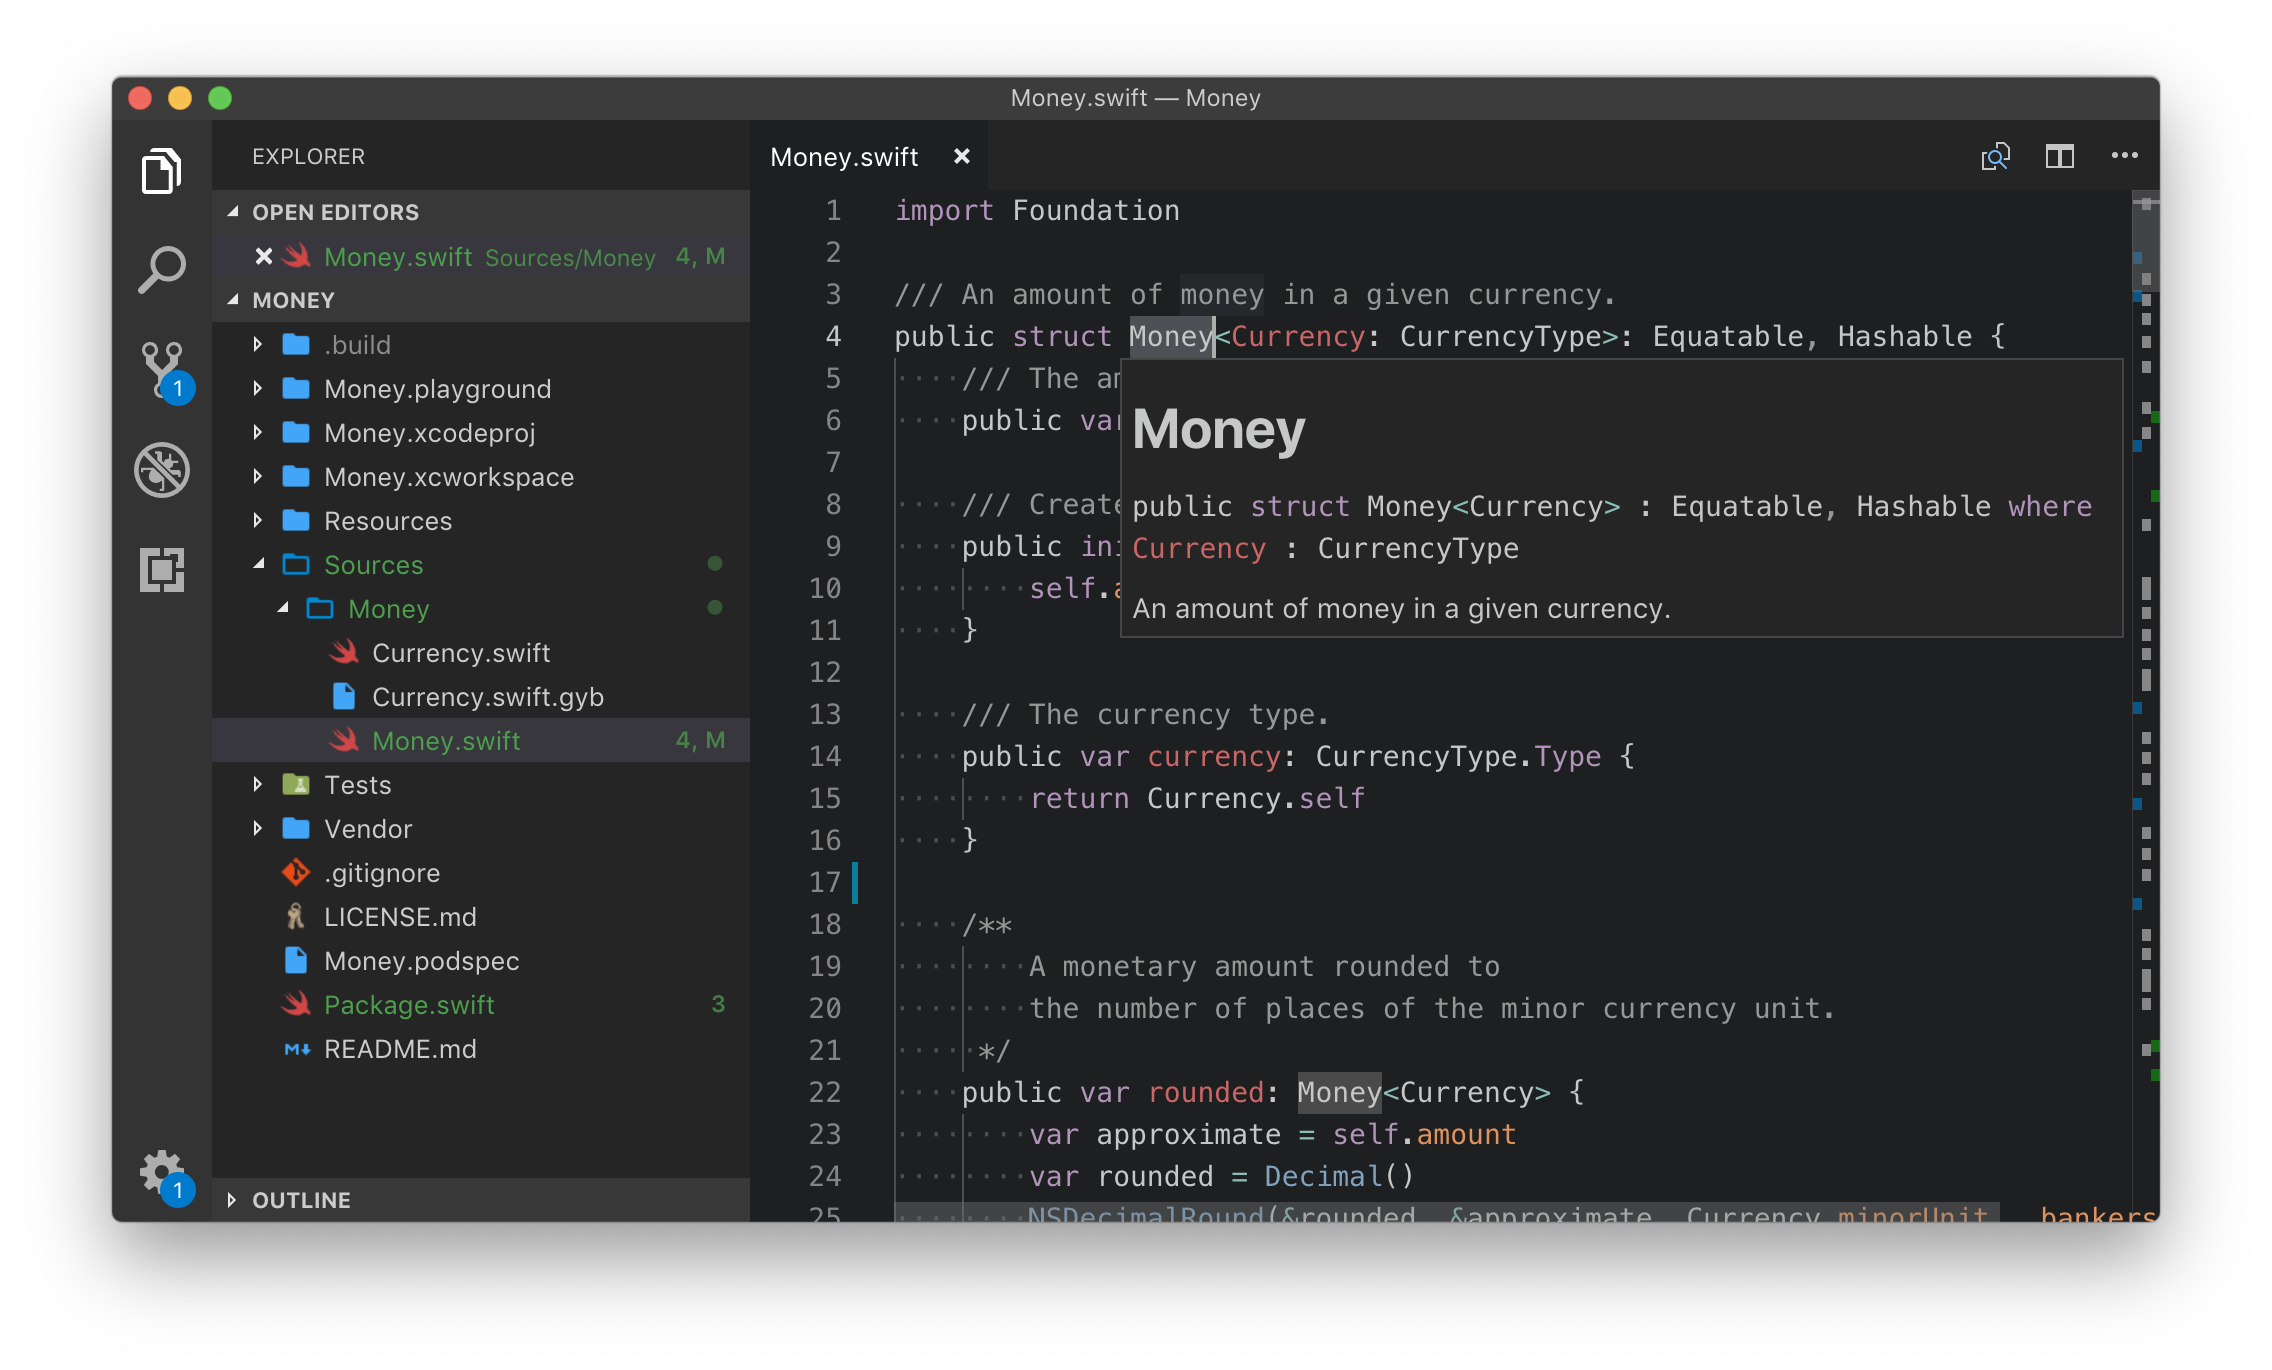
So there you have it — the makings of a first-class Swift development experience outside of Xcode.
And with GitHub’s recent announcement of Codespaces, that future may be coming sooner than we once thought. Thanks to Swift’s support for Language Server Protocol, we’ll soon be able to edit Swift code — syntax highlighting, autocompletion, and all — directly from the browser.