XCPlayground
Stop right there! Given the topic, wouldn’t you rather read this article as a Playground? Download Now →
Play.
Given the association of play with childish exuberance, one could define play as the opposite of work. And yet, the elements of play are what we do in our line of work every day: experimentation, exploration, discovery.
Playgrounds aren’t a feature of the Swift language per se—instead, they are a terrific showcase for all that Swift has to offer, from its efficiency and power to its opacity and depth. Playgrounds make it truly simple to create a working program—indeed, every new Playground starts with the soon-familiar "Hello, playground". At the same time, Playgrounds hide some of their most powerful features, leaving exploration as the only means to discovering their rapidly advancing capabilities.
This week, we’ll take a look past the surface of Playgrounds, giving you tools to make them a powerful part of your development process. Read on for more about Playground sources and resources, captured values and extended execution, and integrated rich formatting that can transform a Playground into an interactive teaching tool.
Note: The digital version of the recently released NSHipster: Obscure Topics in Cocoa & Swift includes a package of Playgrounds—one for every chapter in the book. Each Playground provides a chance to explore and experiment with the concepts presented therein, including extended examples.
Sources
The revamped Playground package structure includes a “Sources” folder for code that is more stable than experimental. All files in the “Sources” directory are compiled (just once, not every time you press a key) into a single module and automatically imported into the Playground. In addition to simplifying the code in your Playground, this compilation drastically speeds up execution. This means that if I have defined a type, function, or global constant in those files with public accessibility, I can use it in a Playground without further ado:
To get started in your own Playground, open the Project Navigator (⌘1) and expand the Playground file to see the “Sources” directory.
Importing Frameworks
To import an external framework, create a new Xcode Workspace that contains both the framework project and your Playground. After building the framework, it can be imported with a standard import statement.
Resources
No playground is complete without a sandbox to play in, and Swift Playgrounds don’t disappoint. Playgrounds have two places to keep associated resources: one local to each individual playground and a second shared amongst all of them. Being able to load and work with XML, JSON data, XIBs, and images extends the usefulness of your Playground experimentation.
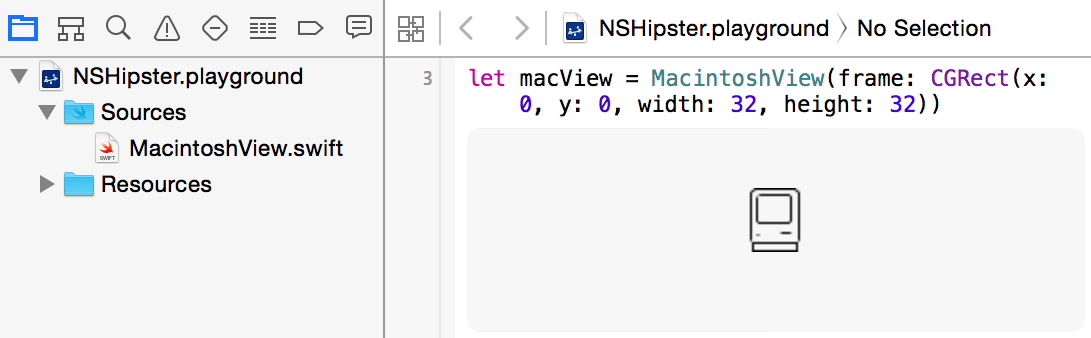
Local
The Resources folder, embedded in the Playground package alongside Sources, is visible in the Project Navigator—simply drag and drop images or data files to use them in your Playground. The contents are then available via the main bundle. For example, we can easily load a JSON file filled with weather data:
let jsonShared
The contents of a “Shared Playground Data” directory inside your “Documents” folder are available to any Playground you create. Access the shared folder via the XCPShared constant.
To try this out yourself, you’ll need to create the directory at “~/Documents/Shared Playground Data”. Here we’re attempting to load an image named “image.png”:
let sharedCaptured Values
A Playground normally shows the results of simple expressions immediately. Arrays, strings, numbers, and more have their values shown in the results pane as they are calculated. But what about values that change over time?
By using the XCPCapture function, we can build a graph of a changing value over a series of iterations. Returning to our weather sample, let’s take a look at the hourly temperatures in the data, using XCPCapture to display the value of temperature in the Assistant Editor’s timeline view:
import XCPlayground
for forecast in forecasts {
if let
tempAlternatively, choosing Editor → Show Result For Current Line will capture the current line’s values and display the chart directly in the flow of the Playground:

Asynchronous Execution
Unlike most Swift code that is written as part of an app or framework, Playgrounds are treated as top-level code. Top-level code in a Playground is executed instruction-by-instruction in order, from top to bottom. This container-less style of execution provides immediate feedback, but there is one problem: execution halts as soon as it reaches the end of the Playground. Network requests, timers, and long-running background queues are abandoned before they can return to report on success or failure.
To keep execution going long enough to see the results of these kinds of asynchronous operations, the XCPlayground module includes a function that extends the length of the process:
import XCPlayground
XCPSetIn addition to the code in a Playground, Swift code run from the command line in a scripting file, in the Swift REPL, or in a project’s optional “main.swift” file is also considered top-level code. Along with order-dependent execution, top-level code is the only kind that can contain statements outside of a function or encapsulated within a type.
Documentation
Beyond experimentation, Playgrounds are also powerful for demonstrating tools and frameworks in the Swift language. Special documentation sections can be rendered as rich text, giving clear narration to code that demonstrates a technique or the correct way to use a library.
Unlike Swift’s other documentation syntax, Swift Playgrounds use Markdown for richly formatted text. (If you downloaded the Playground for this post, you’re reading Markdown right now.) A colon (:) added to a single- or multi-line comment marker signifies a rich-text comment:
//: This line will have **bold** and *italic* text.
/*:
## Headers of All Sizes
### Lists of Links
- [NSHipster](https://nshipster.com)
- [ASCIIwwdc](https://asciiwwdc.com)
- [Swift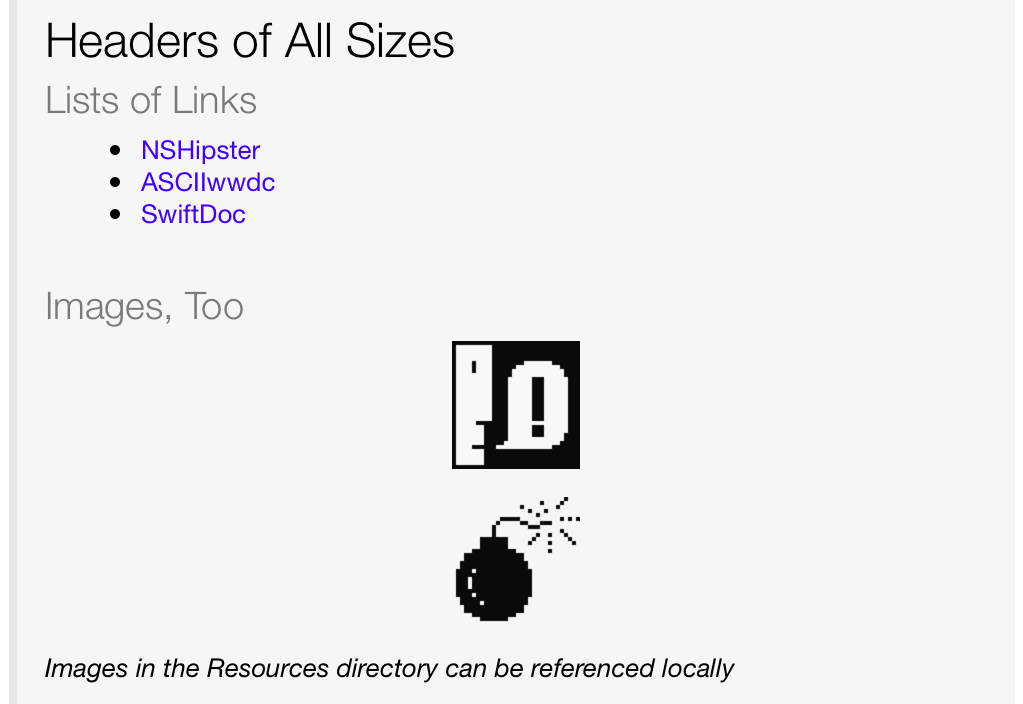
It’s possible to toggle rich documentation rendering either by selecting the Editor → Show Rendered Markup menu item or by checking the Render Documentation checkbox in the File Inspector (⌘⌥1).
Playgrounds represent a major shift in the way we share and learn about tools for OS X and iOS. A Playground can demonstrate each feature and provide a space for potential users to discover and explore the library you’ve created. Trade out your static README.md for an interactive README.playground and let the play begin anew.