Image Resizing Techniques
Since time immemorial, iOS developers have been perplexed by a singular question:
“How do you resize an image?”
It’s a question of beguiling clarity, spurred on by a mutual mistrust of developer and platform. Myriad code samples litter Stack Overflow, each claiming to be the One True Solution™ — all others, mere pretenders.
In this week’s article,
we’ll look at 5 distinct techniques to image resizing on iOS
(and macOS, making the appropriate UIImage → NSImage conversions).
But rather than prescribe a single approach for every situation,
we’ll weigh ergonomics against performance benchmarks
to better understand when to use one approach over another.
When and Why to Scale Images
Before we get too far ahead of ourselves,
let’s establish why you’d need to resize images in the first place.
After all,
UIImage automatically scales and crops images
according to the behavior specified by its
content property.
And in the vast majority of cases,
.scale, .scale, or .scale
provides exactly the behavior you need.
imageView.contentMode = .scaleAspectFit
imageView.image = image
So when does it make sense to resize an image?
When it’s significantly larger than the image view that’s displaying it.
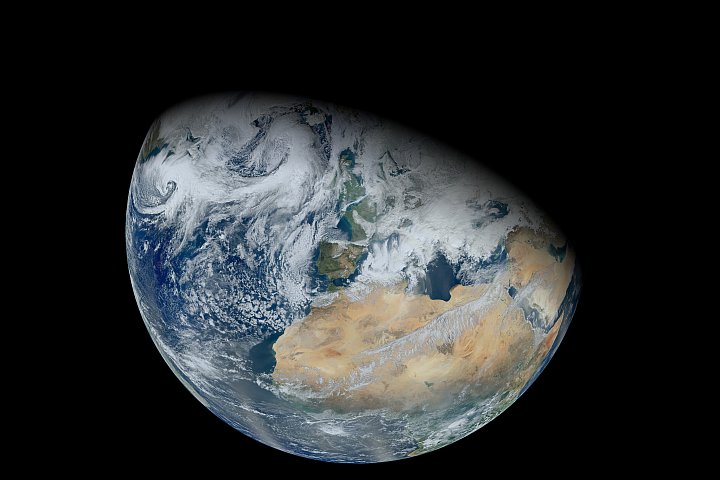
Consider this stunning image of the Earth, from NASA’s Visible Earth image catalog:
At its full resolution,
this image measures 12,000 px square
and weighs in at a whopping 20 MB.
You might not think much of a few megabytes given today’s hardware,
but that’s just its compressed size.
To display it,
a UIImage needs to first decode that JPEG into a bitmap.
If you were to set this full-sized image on an image view as-is,
your app’s memory usage would balloon to
hundreds of Megabytes of memory
with no appreciable benefit to the user
(a screen can only display so many pixels, after all).
By simply resizing that image to the size of the image view
before setting its image property,
you can use an order-of-magnitude less RAM:
| Memory Usage (MB) | |
|---|---|
| Without Downsampling | 220.2 |
| With Downsampling | 23.7 |
This technique is known as downsampling, and can significantly improve the performance of your app in these kinds of situations. If you’re interested in some more information about downsampling and other image and graphics best practices, please refer to this excellent session from WWDC 2018.
Now, few apps would ever try to load an image this large… but it’s not too far off from some of the assets I’ve gotten back from designer. (Seriously, a 3MB PNG for a color gradient?) So with that in mind, let’s take a look at the various ways that you can go about resizing and downsampling images.
Image Resizing Techniques
There are a number of different approaches to resizing an image, each with different capabilities and performance characteristics. And the examples we’re looking at in this article span frameworks both low- and high-level, from Core Graphics, vImage, and Image I/O to Core Image and UIKit:
- Drawing to a UIGraphicsImageRenderer
- Drawing to a Core Graphics Context
- Creating a Thumbnail with Image I/O
- Lanczos Resampling with Core Image
- Image Scaling with vImage
For consistency, each of the following techniques share a common interface:
func resizedImage(at url: URL, for size: CGSize) -> UIImage? { … }

imageView.image = resizedImage(at: url, for: size)
Here, size is a measure of point size,
rather than pixel size.
To calculate the equivalent pixel size for your resized image,
scale the size of your image view frame by the scale of your main UIScreen:
let scaleFactor = UIScreen.main.scale
let scale = CGAffineTransform(scaleX: scaleFactor, y: scaleFactor)
let size = imageView.bounds.size.applying(scale)
Technique #1: Drawing to a UIGraphicsImageRenderer
The highest-level APIs for image resizing are found in the UIKit framework.
Given a UIImage,
you can draw into a UIGraphics context
to render a scaled-down version of that image:
import UIKit

// Technique #1
func resizedImage(at url: URL, for size: CGSize) -> UIImage? {
    guard let image = UIImage(contentsOfFile: url.path) else {
        return nil
    }

    let renderer = UIGraphicsImageRenderer(size: size)
    return renderer.image { (context) in
        image.draw(in: CGRect(origin: .zero, size: size))
    }
}
UIGraphics
is a relatively new API,
introduced in iOS 10 to replace the older,
UIGraphics / UIGraphics APIs.
You construct a UIGraphics by specifying a point size.
The image method takes a closure argument
and returns a bitmap that results from executing the passed closure.
In this case,
the result is the original image scaled down to draw within the specified bounds.
Technique #2: Drawing to a Core Graphics Context
Core Graphics / Quartz 2D offers a lower-level set of APIs that allow for more advanced configuration.
Given a CGImage,
a temporary bitmap context is used to render the scaled image,
using the draw(_:in:) method:
import UIKit
import CoreGraphics

// Technique #2
func resizedImage(at url: URL, for size: CGSize) -> UIImage? {
    guard let imageSource = CGImageSourceCreateWithURL(url as NSURL, nil),
        let image = CGImageSourceCreateImageAtIndex(imageSource, 0, nil)
    else {
        return nil
    }

    let context = CGContext(data: nil,
                            width: Int(size.width),
                            height: Int(size.height),
                            bitsPerComponent: image.bitsPerComponent,
                            bytesPerRow: 0,
                            space: image.colorSpace ?? CGColorSpace(name: CGColorSpace.sRGB)!,
                            bitmapInfo: image.bitmapInfo.rawValue)
    context?.interpolationQuality = .high
    context?.draw(image, in: CGRect(origin: .zero, size: size))

    guard let scaledImage = context?.makeImage() else { return nil }

    return UIImage(cgImage: scaledImage)
}
This CGContext initializer takes several arguments to construct a context,
including the desired dimensions and
the amount of memory for each channel within a given color space.
In this example,
these parameters are fetched from the CGImage object.
Next, setting the interpolation property to .high
instructs the context to interpolate pixels at a 👌 level of fidelity.
The draw(_:in:) method
draws the image at a given size and position, a
allowing for the image to be cropped on a particular edge
or to fit a set of image features, such as faces.
Finally,
the make method captures the information from the context
and renders it to a CGImage value
(which is then used to construct a UIImage object).
Technique #3: Creating a Thumbnail with Image I/O
Image I/O is a powerful (albeit lesser-known) framework for working with images. Independent of Core Graphics, it can read and write between many different formats, access photo metadata, and perform common image processing operations. The framework offers the fastest image encoders and decoders on the platform, with advanced caching mechanisms — and even the ability to load images incrementally.
The important
CGImage offers a concise API with different options than found in equivalent Core Graphics calls:
import ImageIO

// Technique #3
func resizedImage(at url: URL, for size: CGSize) -> UIImage? {
    let options: [CFString: Any] = [
        kCGImageSourceCreateThumbnailFromImageIfAbsent: true,
        kCGImageSourceCreateThumbnailWithTransform: true,
        kCGImageSourceShouldCacheImmediately: true,
        kCGImageSourceThumbnailMaxPixelSize: max(size.width, size.height)
    ]

    guard let imageSource = CGImageSourceCreateWithURL(url as NSURL, nil),
        let image = CGImageSourceCreateThumbnailAtIndex(imageSource, 0, options as CFDictionary)
    else {
        return nil
    }

    return UIImage(cgImage: image)
}
Given a CGImage and set of options,
the CGImage function
creates a thumbnail of an image.
Resizing is accomplished by the k option,
which specifies the maximum dimension
used to scale the image at its original aspect ratio.
By setting either the
k or
k option,
Image I/O automatically caches the scaled result for subsequent calls.
Technique #4: Lanczos Resampling with Core Image
Core Image provides built-in
Lanczos resampling functionality
by way of the eponymous CILanczos filter.
Although arguably a higher-level API than UIKit,
the pervasive use of key-value coding in Core Image makes it unwieldy.
That said, at least the pattern is consistent.
The process of creating a transform filter, configuring it, and rendering an output image is no different from any other Core Image workflow:
import UIKit
import CoreImage

let sharedContext = CIContext(options: [.useSoftwareRenderer : false])

// Technique #4
func resizedImage(at url: URL, scale: CGFloat, aspectRatio: CGFloat) -> UIImage? {
    guard let image = CIImage(contentsOf: url) else {
        return nil
    }

    let filter = CIFilter(name: "CILanczosScaleTransform")
    filter?.setValue(image, forKey: kCIInputImageKey)
    filter?.setValue(scale, forKey: kCIInputScaleKey)
    filter?.setValue(aspectRatio, forKey: kCIInputAspectRatioKey)

    guard let outputCIImage = filter?.outputImage,
        let outputCGImage = sharedContext.createCGImage(outputCIImage,
                                                        from: outputCIImage.extent)
    else {
        return nil
    }

    return UIImage(cgImage: outputCGImage)
}
The Core Image filter named CILanczos
accepts an input, an input, and an input parameter,
each of which are pretty self-explanatory.
More interestingly,
a CIContext is used here to create a UIImage
(by way of a CGImage intermediary representation),
since UIImage(CIImage:) doesn’t often work as expected.
Creating a CIContext is an expensive operation,
so a cached context is used for repeated resizing.
Technique #5: Image Scaling with vImage
Last up,
it’s the venerable Accelerate framework —
or more specifically,
the v image-processing sub-framework.
vImage comes with a bevy of different functions for scaling an image buffer. These lower-level APIs promise high performance with low power consumption, but at the cost of managing the buffers yourself (not to mention, signficantly more code to write):
import UIKit
import Accelerate.vImage

// Technique #5
func resizedImage(at url: URL, for size: CGSize) -> UIImage? {
    // Decode the source image
    guard let imageSource = CGImageSourceCreateWithURL(url as NSURL, nil),
        let image = CGImageSourceCreateImageAtIndex(imageSource, 0, nil),
        let properties = CGImageSourceCopyPropertiesAtIndex(imageSource, 0, nil) as? [CFString: Any],
        let imageWidth = properties[kCGImagePropertyPixelWidth] as? vImagePixelCount,
        let imageHeight = properties[kCGImagePropertyPixelHeight] as? vImagePixelCount
    else {
        return nil
    }

    // Define the image format
    var format = vImage_CGImageFormat(bitsPerComponent: 8,
                                      bitsPerPixel: 32,
                                      colorSpace: nil,
                                      bitmapInfo: CGBitmapInfo(rawValue: CGImageAlphaInfo.first.rawValue),
                                      version: 0,
                                      decode: nil,
                                      renderingIntent: .defaultIntent)

    var error: vImage_Error

    // Create and initialize the source buffer
    var sourceBuffer = vImage_Buffer()
    defer { sourceBuffer.data.deallocate() }
    error = vImageBuffer_InitWithCGImage(&sourceBuffer,
                                         &format,
                                         nil,
                                         image,
                                         vImage_Flags(kvImageNoFlags))
    guard error == kvImageNoError else { return nil }

    // Create and initialize the destination buffer
    var destinationBuffer = vImage_Buffer()
    error = vImageBuffer_Init(&destinationBuffer,
                              vImagePixelCount(size.height),
                              vImagePixelCount(size.width),
                              format.bitsPerPixel,
                              vImage_Flags(kvImageNoFlags))
    guard error == kvImageNoError else { return nil }

    // Scale the image
    error = vImageScale_ARGB8888(&sourceBuffer,
                                 &destinationBuffer,
                                 nil,
                                 vImage_Flags(kvImageHighQualityResampling))
    guard error == kvImageNoError else { return nil }

    // Create a CGImage from the destination buffer
    guard let resizedImage =
        vImageCreateCGImageFromBuffer(&destinationBuffer,
                                      &format,
                                      nil,
                                      nil,
                                      vImage_Flags(kvImageNoAllocate),
                                      &error)?.takeRetainedValue(),
        error == kvImageNoError
    else {
        return nil
    }

    return UIImage(cgImage: resizedImage)
}
The Accelerate APIs used here clearly operate at a much lower-level than any of the other resizing methods discussed so far. But get past the unfriendly-looking type and function names, and you’ll find that this approach is rather straightforward.
- First, create a source buffer from your input image,
- Then, create a destination buffer to hold the scaled image
- Next, scale the image data in the source buffer to the destination buffer,
- Finally, create an image from the resulting image data in the destination buffer.
Performance Benchmarks
So how do these various approaches stack up to one another?
Here are the results of some performance benchmarks performed on an iPhone 7 running iOS 12.2, in this project.
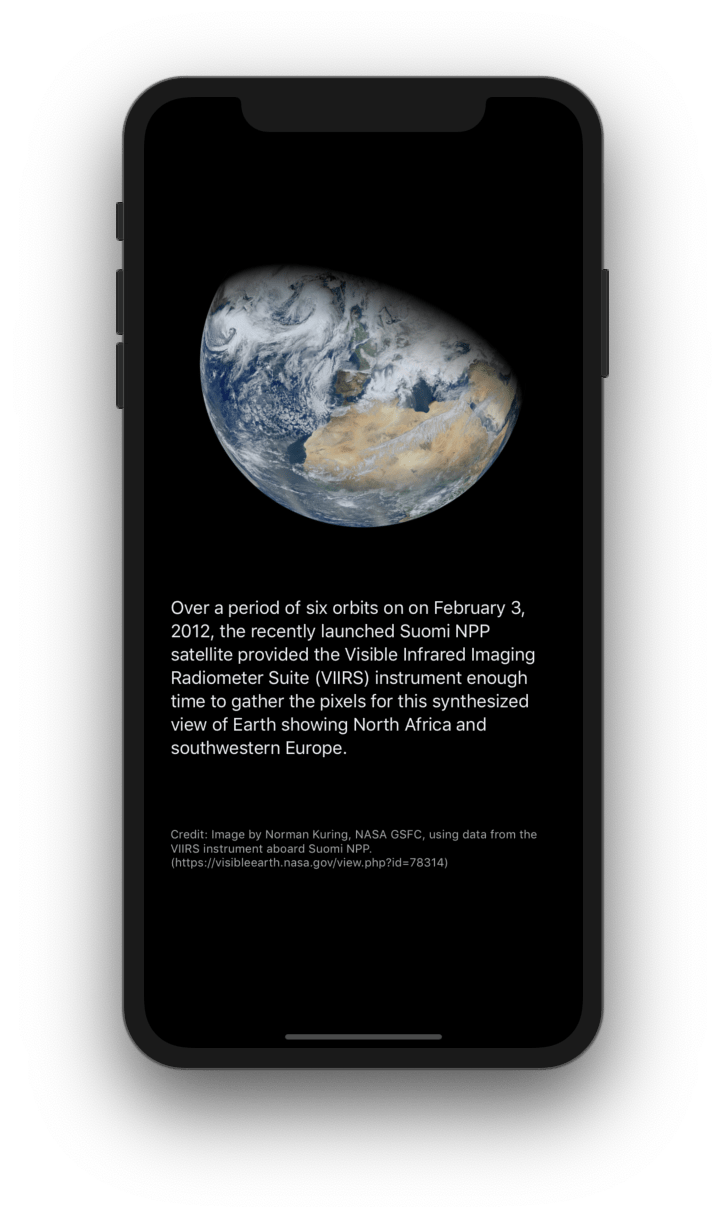
The following numbers show the average runtime across multiple iterations for loading, scaling, and displaying that jumbo-sized picture of the earth from before:
| Time (seconds) | |
|---|---|
Technique #1: UIKit | 0.1420 |
Technique #2: Core Graphics 1 | 0.1722 |
Technique #3: Image I/O | 0.1616 |
Technique #4: Core Image 2 | 2.4983 |
Technique #5: v | 2.3126 |
1
Results were consistent across different values of CGInterpolation, with negligible differences in performance benchmarks.
2
Setting k to true on the options passed on CIContext creation yielded results an order of magnitude slower than base results.
Conclusions
- UIKit, Core Graphics, and Image I/O
all perform well for scaling operations on most images.
If you had to choose one (on iOS, at least),
UIGraphicsis typically your best bet.Image Renderer - Core Image is outperformed for image scaling operations. In fact, according to Apple’s Performance Best Practices section of the Core Image Programming Guide, you should use Core Graphics or Image I/O functions to crop and downsampling images instead of Core Image.
- Unless you’re already working with
v, the extra work necessary to use the low-level Accelerate APIs probably isn’t justified in most circumstances.Image