UIPrintInteractionController
With all the different means to comment, mark up, save, and share right at our fingertips, it’s easy to overlook the value of a printed sheet of paper.
UIKit makes it easy to print straight from a user’s device with custom designs that you can adapt to both your content and the paper size. This article will first walk through how to format your content for printing, then detail the different ways to present (or not!) the printing interface.
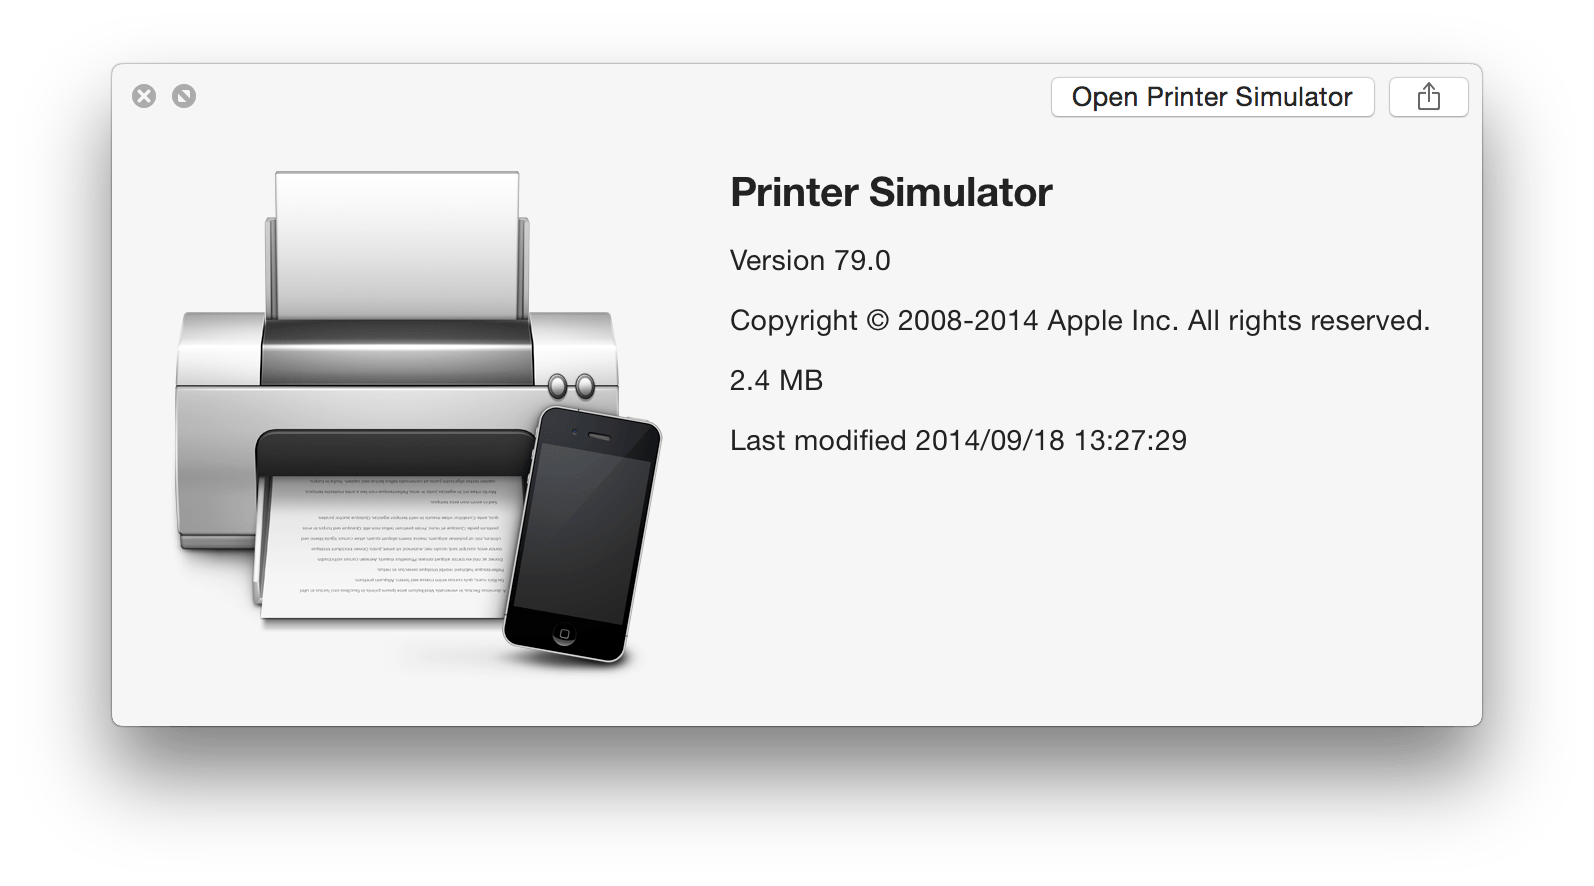
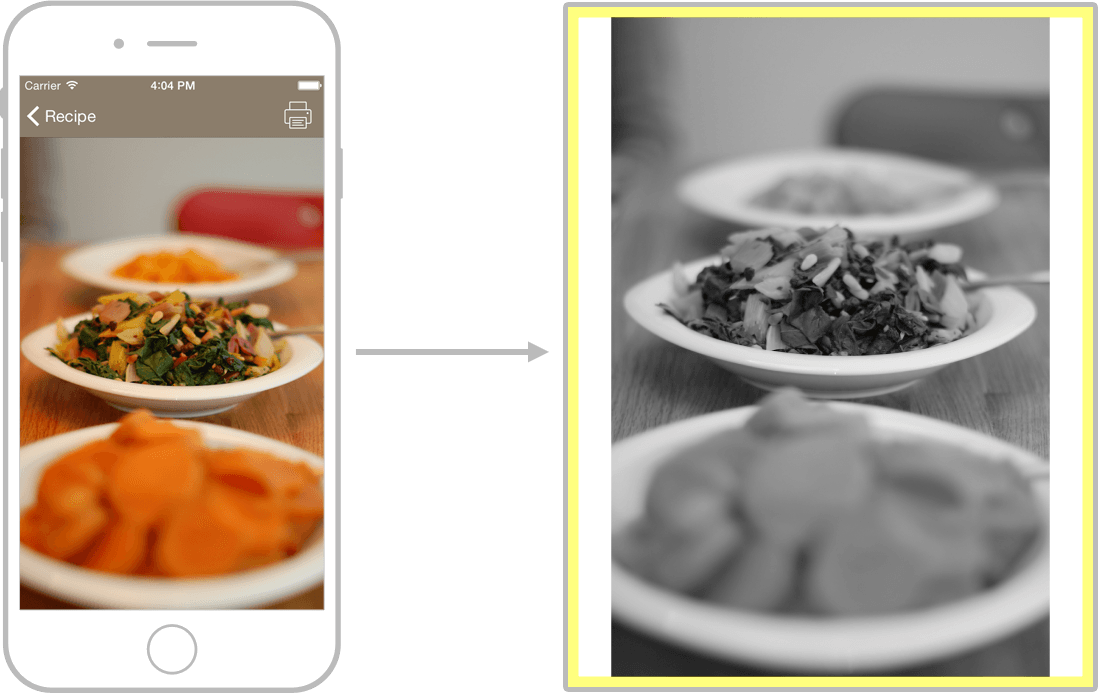
The “printed” images throughout this article are taken from Apple’s Printer Simulator. (The yellow edges represent the non-printable margins of the paper)
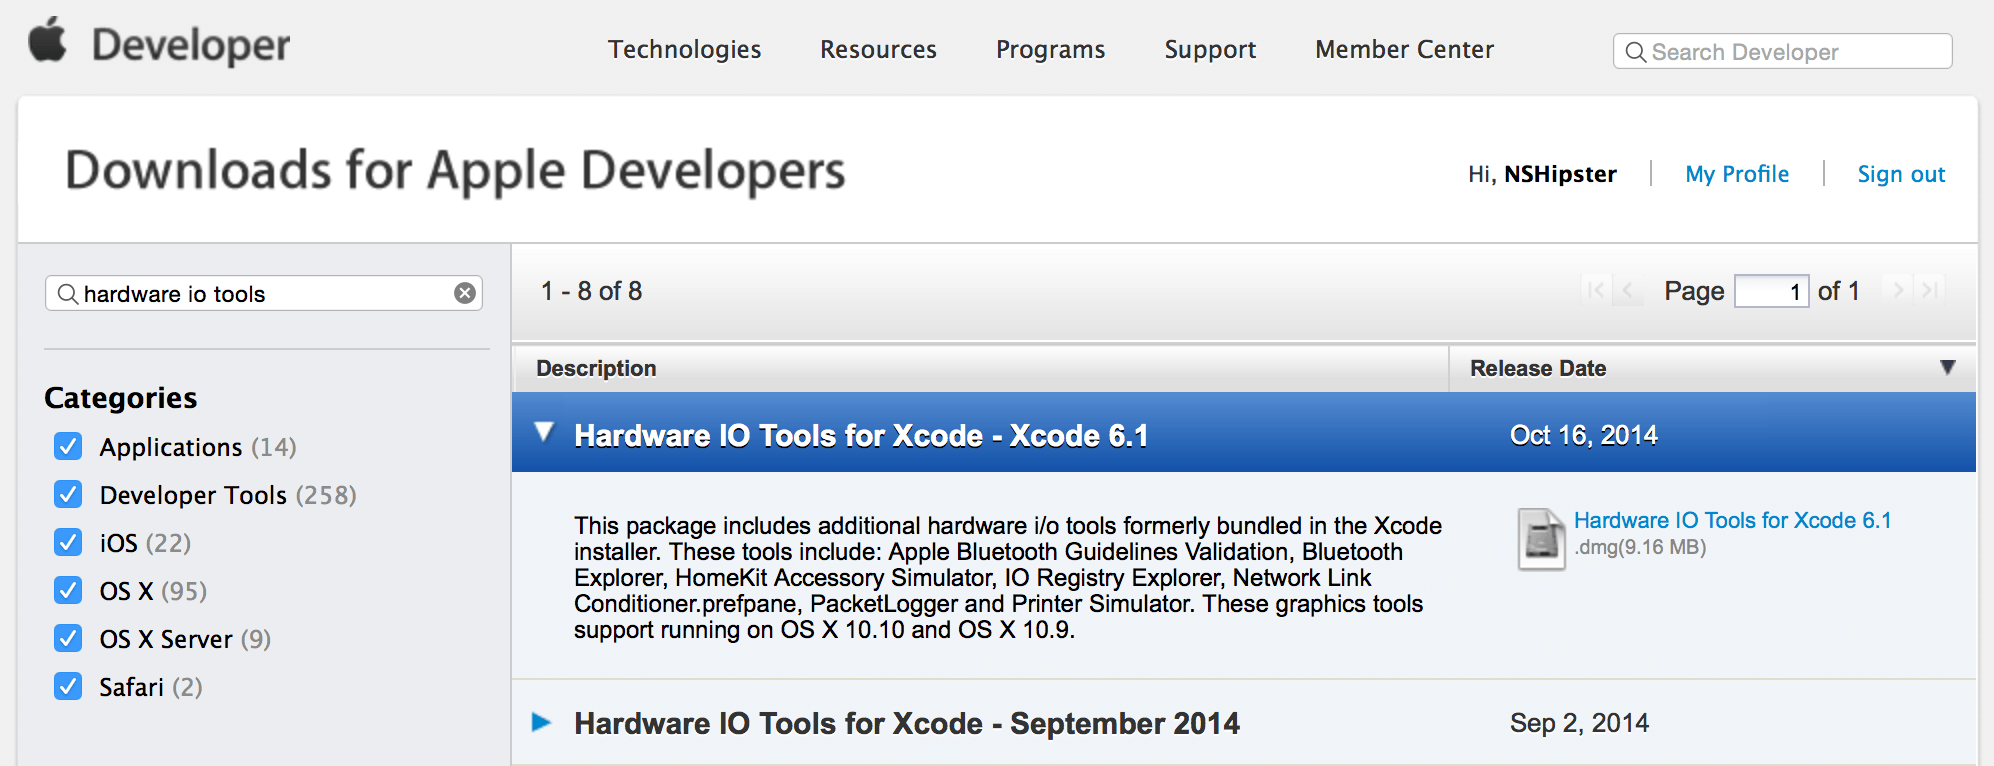
As of Xcode 6, the printer simulator must be downloaded as part of the Hardware IO Tools for Xcode.
At the heart of the UIKit Printing APIs is UIPrint. A shared instance of this class manages details of print jobs and configure any UI that will be presented to the user. It also provides three levels of control for the formatting of your content.
Printing is a Job
Before we look at formatting actual content for printing, let’s go through the options for configuring the print job and the print options presented to the user.
UIPrintInfo
Print job details are set in a UIPrint instance. You can use the following properties:
jobName String: A name for this print job. The name will be displayed in the Print Center on the device and, for some printers, on the LCD display.orientationUIPrint: EitherInfo Orientation .Portrait(the default) or.Landscape—this is ignored if what you print has an intrinsic orientation, such as a PDF.duplexUIPrint:Info Duplex .None,.Short, orEdge .Long. The short- and long-edge settings indicate how double-sided pages could be bound, whileEdge .Nonesuppresses double-sided printing (though not the UI toggle for duplexing, perplexingly).outputType UIPrint: Gives UIKit a hint about the type of content you’re printing. Can be any of:Info Output Type
.General(default): For mixed text and graphics; allows duplexing..Grayscale: Can be better than.Generalif your content includes black text only..Photo: For color or black and white images; disables duplexing and favors photo media for the paper type..Photo: Can be better thanGrayscale .Photofor grayscale-only images, depending on the printer.printerID String?: An ID for a particular printer—you can retrieve this only after the user has selected a printer through the UI and save it to use as a preset for a future print job.
In addition, UIPrint provides a dictionary property, which can be saved and used to create a new UIPrint instance later.
UIPrint Settings
There are a handful of settings on the UIPrint that you can configure before displaying the printing UI. These include:
Info UIPrint: The aforementioned print job configuration.Info Paper UIPrint: A simple type that describes the physical and printable size of a paper type; except for specialized applications, this will be handled for you by UIKit.Paper showsNumber Of Copies Bool: Whentrue, lets the user choose the number of copies.showsPage Range Bool: Whentrue, lets the user choose a sub-range from the printed material. This only makes sense with multi-page content—it’s turned off by default for images.showsPaper Selection For Loaded Papers Bool: When this istrueand the selected printer has multiple paper options, the UI will let the user choose which paper to print on.
Formatting Your Content
Through four different properties of UIPrint, you can select the level of control (and complexity) you want for your content.
printingItem AnyorObject! printingItems [Any: At the most basic level, the controller simply takes content that is already printable (images and PDFs) and sends them to the printer.Object]! Formatter UIPrint: At the next level, you can use aFormatter UIPrintsubclass to format content inside your application, then hand the formatter off to theFormatter UIPrint. You have some control over the format, and the printing API largely takes care of the rest.Interaction Controller Page Renderer UIPrint: At the highest level, you can create a custom subclass ofPage Renderer UIPrint, combining page formatters and your own drawing routines for headers, footers, and page content.Page Renderer
Since Thanksgiving (my favorite holiday) is around the corner, to illustrate these properties we’ll add printing to different screens of a hypothetical app for Thanksgiving recipes.
Printing With print(s)
You can print pre-existing printable content by setting either the print or print property of UIPrint. Images and PDFs can be given either as image data (in a NSData, UIImage, or ALAsset instance) or via any NSURL referencing something that can be loaded into an NSData object. To be printable, images must be in a format that UIImage supports.
Let’s walk through a very simple case: showing the UI to print an image when the user taps a button. (We’ll look at alternate ways of initiating printing below.) The process will be largely the same, no matter what you’re printing—configure your print info, set up the print interaction controller, and provide your content before displaying the UI:
@IBAction func print(sender: UIBar- (IBAction)print:(id)sender {
if ([UIPrintEasy as pie! (Or, in this case, sautéed Swiss chard.)
The
presentmethod is for presenting the printing UI on the iPhone. If printing from the iPad, use one of theAnimated(:completion Handler:) presentorFrom Bar Button Item(:animated:completion Handler:) presentmethods instead.From Rect(:in View:animated:completion Handler:)
UIPrintFormatter
The UIPrint class has two subclasses that can be used to format text (UISimple and UIMarkup) plus another (UIView) that can format the content of three views: UIText, UIWeb, and MKMap. Print formatters have a few properties that allow you to define the printed area of the page in different ways; the final print area for the formatter will be the smallest rectangle that meets the following criteria:
contentInsets UIEdge: A set of insets from the edges of the page for the entire block of content. The left and right insets are applied on every page, but the top inset is only applied on the first page. The bottom inset is ignored.Insets perPage Content Insets UIEdge(iOS 8 only): A set of insets from the edges of the page for every page of formatted content.Insets maximumandContent Width maximumContent Height CGFloat: If specified, these can further constrain the width and height of the content area.
Though not clearly documented by Apple, all of these values are based on 72 points per inch.
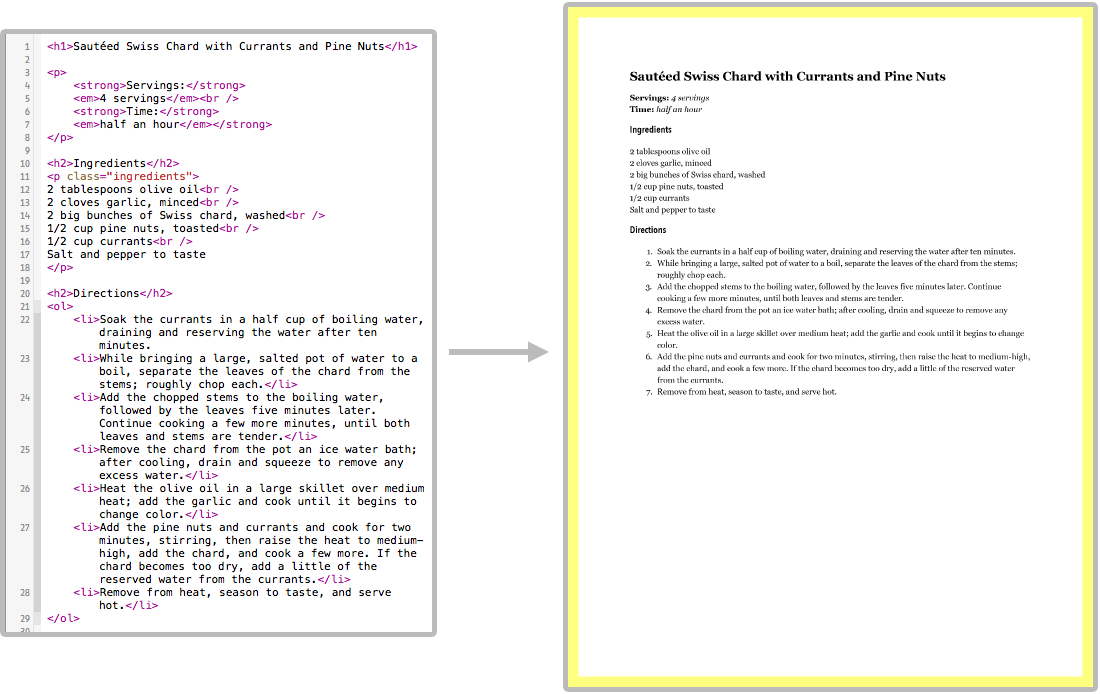
The two text-based print formatters are initialized with the text they will be formatting. UISimple can handle plain or attributed text, while UIMarkup takes and renders HTML text in its markup property. Let’s try sending an HTML version of our Swiss chard recipe through the markup formatter:
let formatter = UIMarkupUIMarkupThe result? A handsomely rendered HTML page:
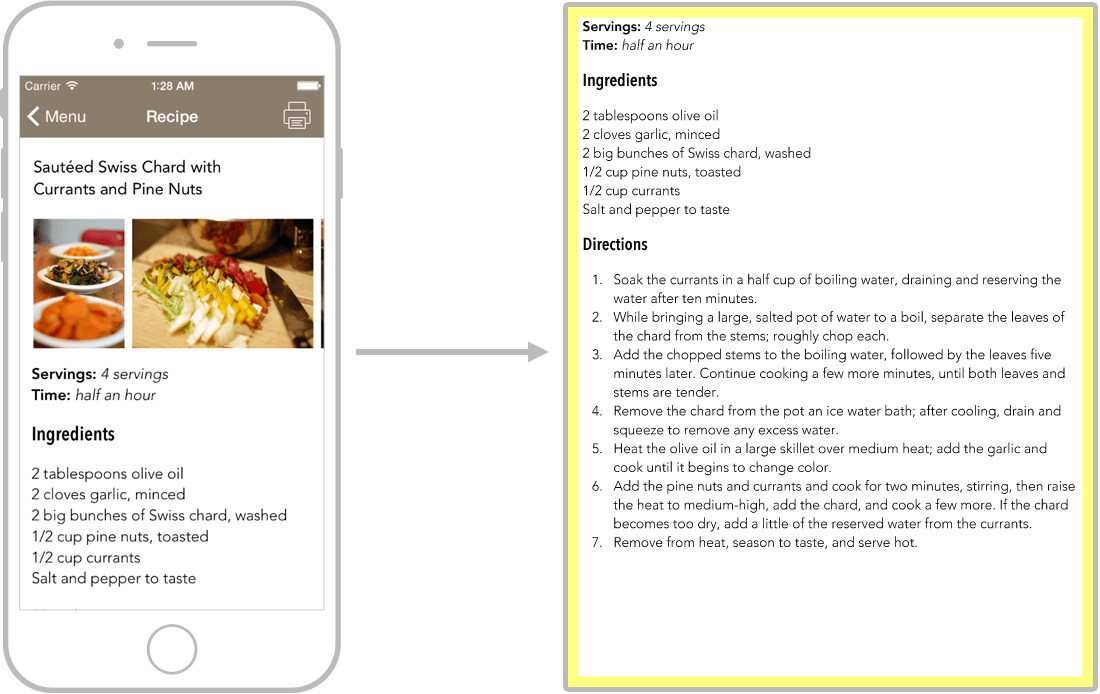
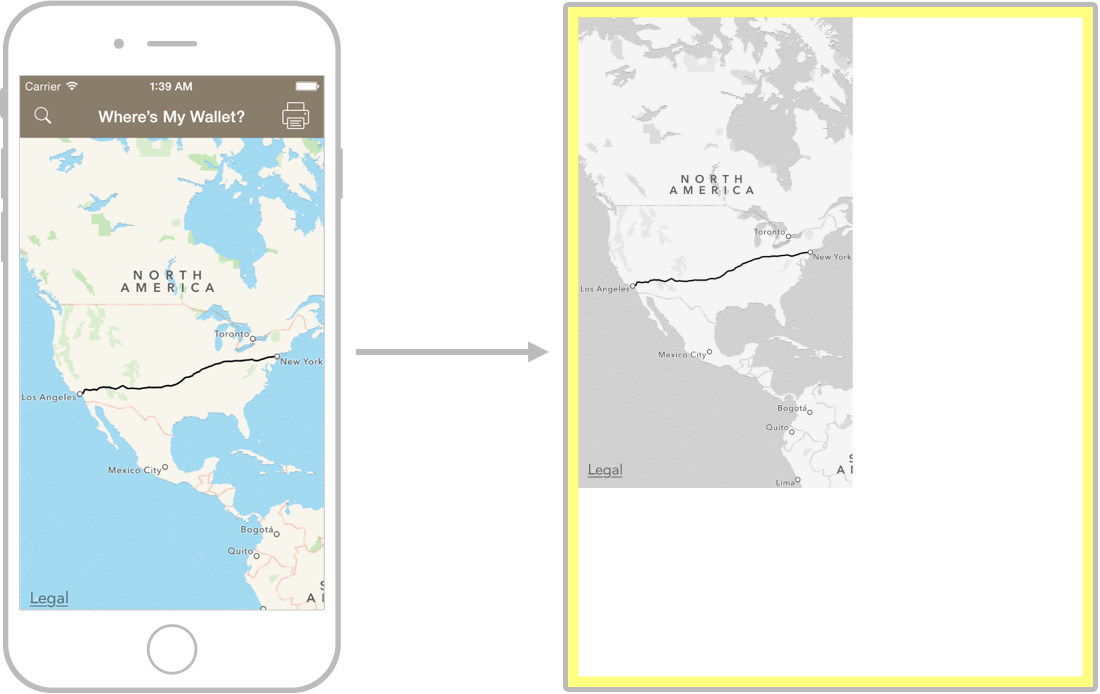
On the other hand, to use a UIView, you retrieve one from the view you want to print via its view property. Here’s a look at how the formatter does its job for each of the three supported views:
1) UITextView
2) UIWebView

3) MKMapView
UIPrintPageRenderer
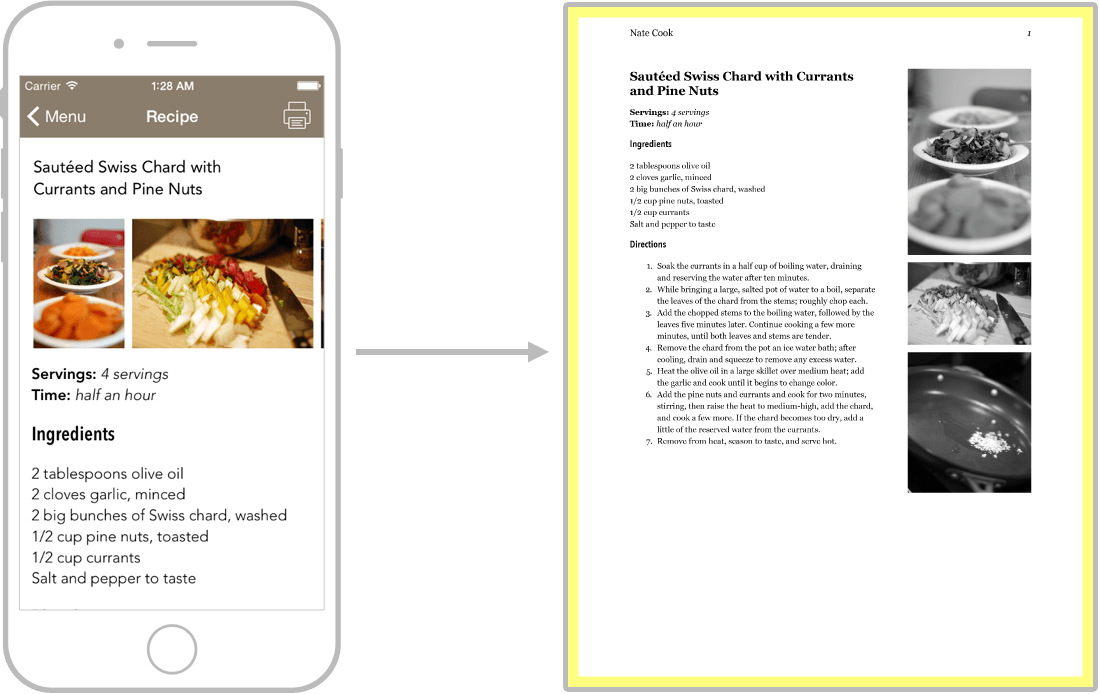
The built-in formatters are fine, but for the most control over the printed page, you can implement a subclass of UIPrint. In your subclass you can combine the print formatters we saw above with your own custom drawing routines to create terrific layouts for your app’s content. Let’s look at one more way of printing a recipe, this time using a page renderer to add a header and to draw the images alongside the text of the recipe.
In the initializer, we save the data that we’ll need to print, then set the header (the header and footer drawing methods won’t even be called unless you set their respective heights) and create a markup text formatter for the text of the recipe.
Complete Objective-C and Swift source code for the following examples is available as a gist.
class Recipe@interface RecipeWhen you use one or more print formatters as part of your custom renderer (as we’re doing here), UIKit queries them for the number of pages to print. If you’re doing truly custom page layout, implement the
numbermethod to provide the correct value.Of Pages()
Next, we override draw to draw our custom header. Unfortunately, those handy per-page content insets on print formatters are gone here, so we first need to inset the header parameter to match my margins, then simply draw into the current graphics context. There’s a similar draw method for drawing the footer.
override func draw- (void)drawLastly, let’s provide an implementation of draw:
override func draw- (void)drawWith the implementation of our custom page renderer complete, we can set an instance as the page property on the print interaction controller and we’re ready to print.
let renderer = RecipeRecipeThe final result is much nicer than any of the built-in formatters.
Note that the text of the recipe is being formatted by a
UIMarkup, while the header and images are drawn via custom code.Text Formatter
Printing via a Share Sheet
With the tools we’ve learned above, adding printing capability in a share sheet is simple. Instead of using UIPrint to present the printing UI, we pass off our configured UIPrint and printing item(s), formatter, or renderer to a UIActivity. If the user selects the Print button in the share sheet, the printing UI will be displayed with all our configurations intact.
@IBAction func open- (IBAction)openWhile
UIPrintand subclasses ofInfo UIPrintandFormatter UIPrintcan be passed to aPage Renderer UIActivityas activities, none of them seem to conform to theView Controller UIActivityprotocol, so you’ll see a (harmless) warning in your console about “Unknown activity items.”Item Source
Skipping the Printing UI
New in iOS 8 is a way to print without any presentation of the printing UI. Instead of presenting the UI each time the user presses a print button, you can provide a way for your users to select a printer somewhere in your app with the easy-to-use UIPrinter. It accepts an optional UIPrinter instance in its constructor for a pre-selection, uses the same presentation options as explained above, and has a completion handler for when the user has selected her printer:
let printerUIPrinterNow you can tell your UIPrint to print directly by calling print with the saved printer instead of using one of the present... methods.
As one final recommendation, consider the printed page as you would any other way of interacting with your content. In the same way you scrutinize font size and weight or the contrast between elements on screen, make sure to test your print layouts on paper—the contrast, size, and margins should all be appropriate to the medium.